


This builds on the documentation by Roman Dial (blog, video) and Timmy Johnson.
Safely Rigging Your Packraft

A few considerations
Justification
Even if you have no interest in white water, thigh straps are the single most important modification you can make to your packraft. Think of it as the difference between clipless pedals and cages on your bike… or tying shoes tight before a run. The boat will be more responsive, handle better, track better, etc. Eddy lines don’t grab as strongly. My legs used to always fall asleep, but with thigh straps and the seat moved forward my circulation is somehow improved.
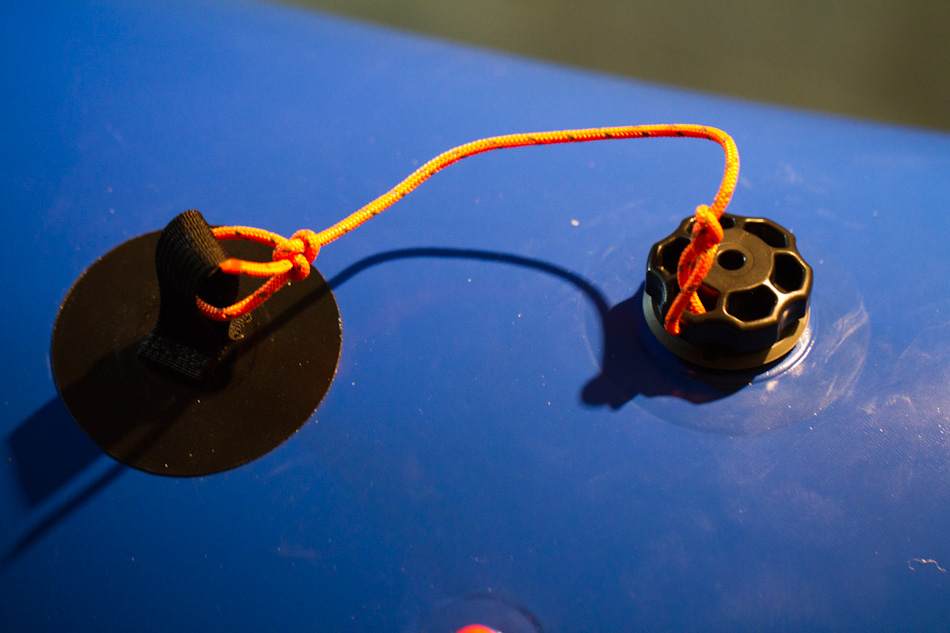
Selecting tie-downs
I prefer the tie-downs made by Alpacka for their 5$ cost and weight. However, I’ve ripped through four of them. If you plan on using thigh straps for aggressive rolling, consider using larger D-ring patches, PVC or urethane-coated, like the Aire 1″ D-Ring or the NRS packraft patch (update: the NRS packraft patches have a poor reputation), at least at the hip positions. I have NRS D-Rings attached at the hips, where the force is the greatest, and Alpacka tie-downs at the feet. If you plan on using thigh straps more for control (class III and below), go with all four Alpacka tie-downs.
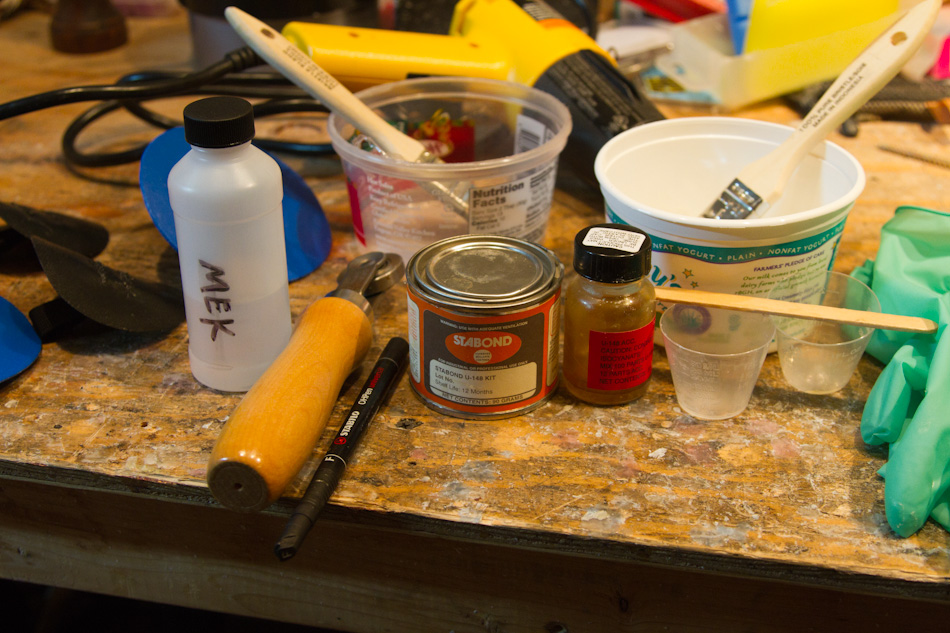
Glue
I’ve used Stabond U-148 two-part glue (expensive) and Alpacka-recommended Locktite Vinyl, Fabric & Plastic Flexible Adhesive one-part glue (cheap, easy to find and use). I have complete faith in the Stabond, but have seen the vinyl adhesive fail. These guidelines assume you are using the Stabond glue. With Locktite Vinyl Adhesive, simply use one coat of glue on the surfaces and skip steps 3 and 4. Apparently Stabond is not available in Europe; here are directions (in German) for the glue recommended there.
Straps
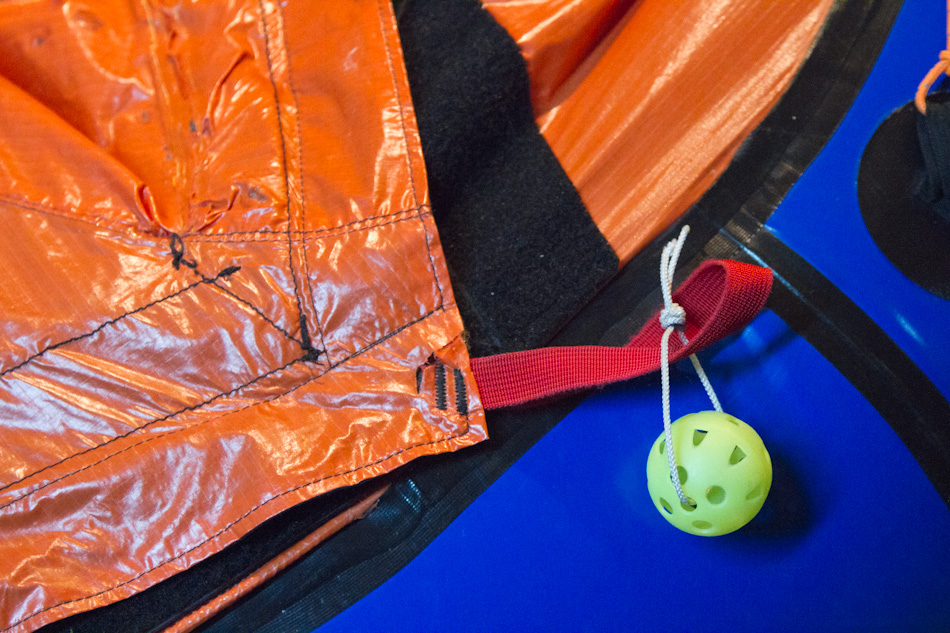
If you are going to be doing any rolling, get the AIRE thigh straps. They have recently replaced the plastic buckles with metal cams, which is a bummer for us. If I had the new straps I’d find a way to replace the metal cams with something lighter. For backcountry or more casual trips, a 1-inch webbing strap works well (see photo at bottom of page).
Additional tie-downs
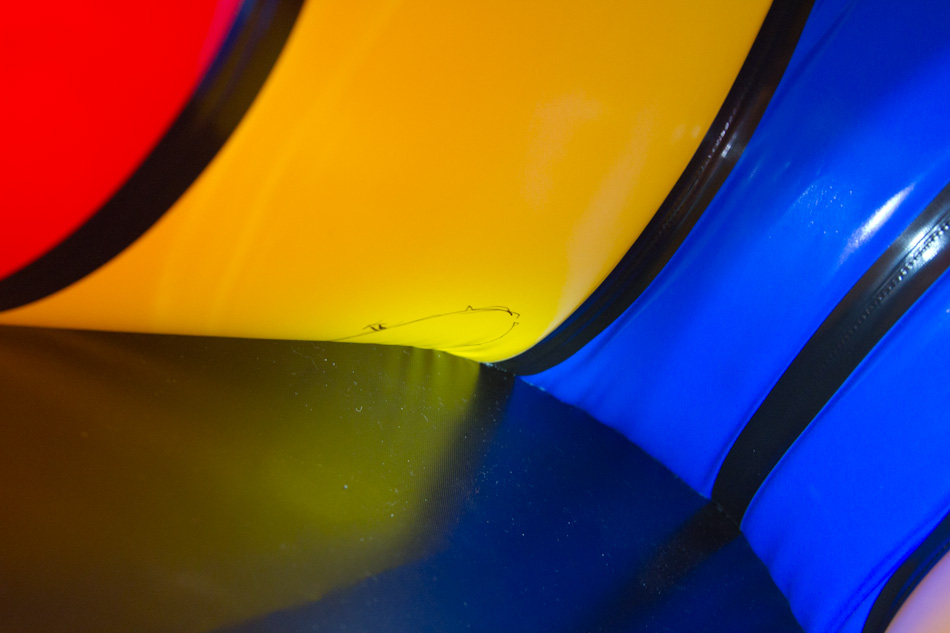
If you are mixing glue anyway, consider adding tie-down loops to the stern. The two loops shown in the cockpit photo (top of page, left) are useful for attaching skis.
Installing Thighstraps
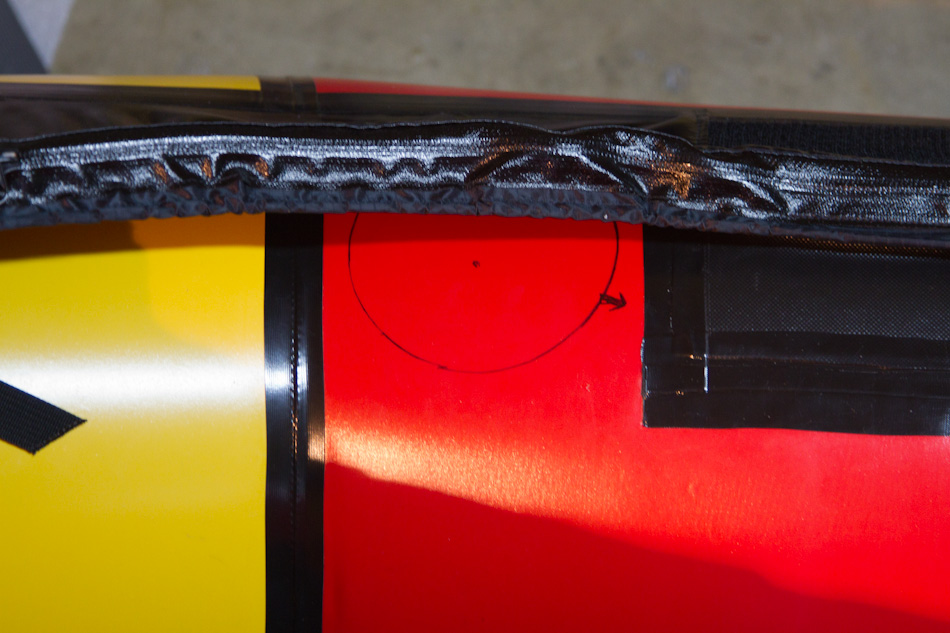
1) Mark the tie-down position
Outline tie-down loop placements with a pen or permanent marker (Figs. 1 and 2). The thigh attachment points should be slightly in front of the rear-to-center tube join and 2-3 inches (~6 cm) down from the top surface of the tube. The foot attachment points should be ~6 inches (~15 cm) in front of the center-to-front tube join, and a few inches up from the floor. The distance between each pair should be ~30 inches (~74 cm). I like to leave at least an inch between all joins and the floor or skirt so that the heat gun doesn’t weaken any existing glue. Make a mark to indicate the direction the tie-down loop will be oriented (toward the other end of the thigh strap, see Fig. 2).

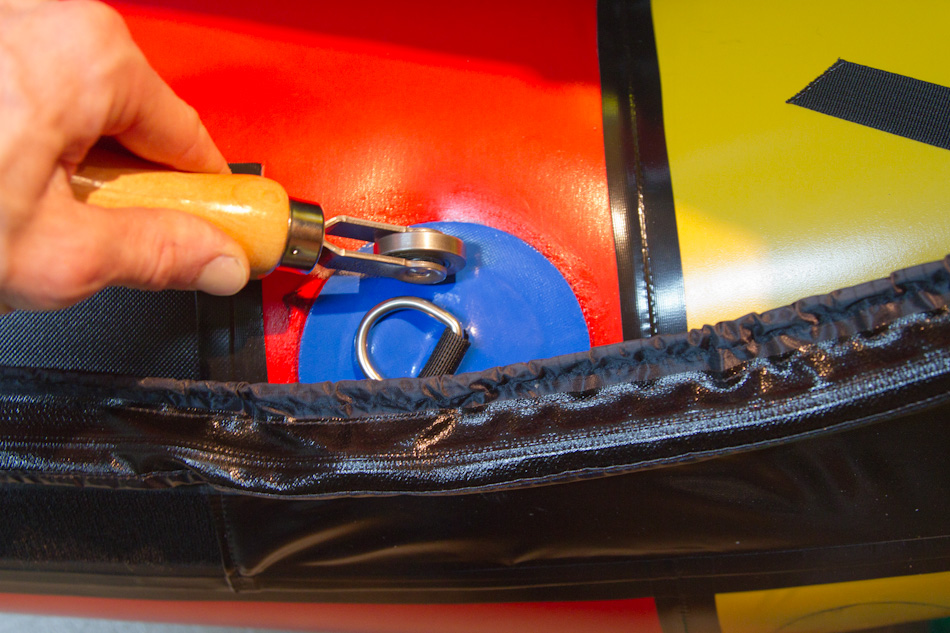
2) Etch the tie-down positions.
Use a 1-inch paint brush to etch the surface of the boat where the tie-down loops will be attached. I’ve only used MEK to etch. Coat each location ~5 times. The surface should be slightly tacky to the touch when sufficiently etched.
3) Coat both surfaces to be bonded.
Mix the 10:1 Stabond U-148 glue. The fumes are nasty- make sure to open windows. Coat the surface of each attachment position and the tie-downs three times using a disposable 1-inch brush (not foam). Use enough glue to quickly cover the surface, but not so much glue that you have beads on the surfaces. I rotate through each position/tie-down so that by the time I’ve finished the first coat, the surfaces are dry and ready for the next coat.
4) Re-activate glue. Do not skip this step!
Use a heat gun or hair dryer to activate the glue on both surfaces (boat and tie-down, Fig. 6). The glue only needs to get to body temperature. I wave the gun between the boat, the tie-down, and my hand so that if my hand gets too hot I know to distance the heat gun. If you see any blistering of the glue then it is too hot.
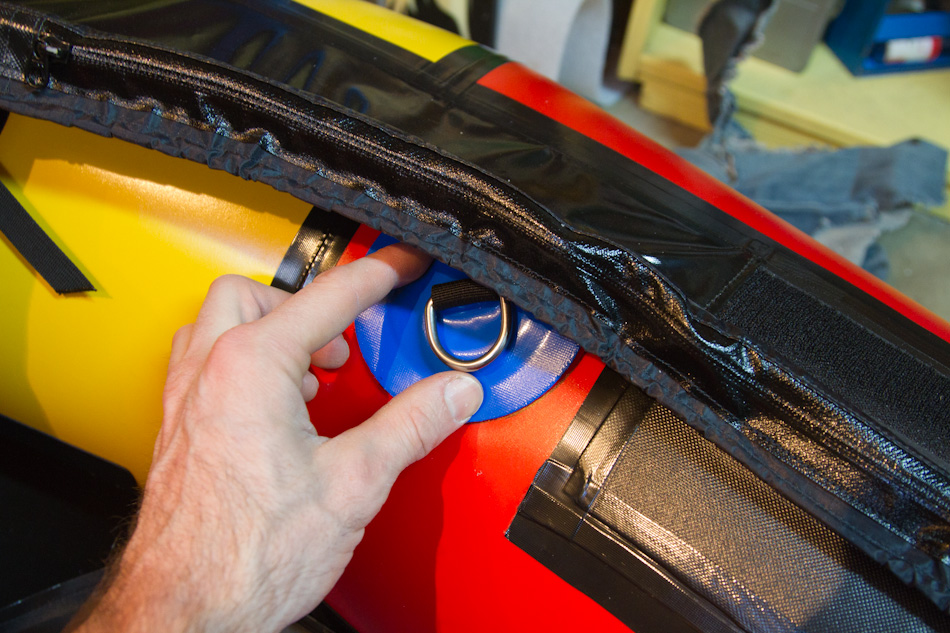
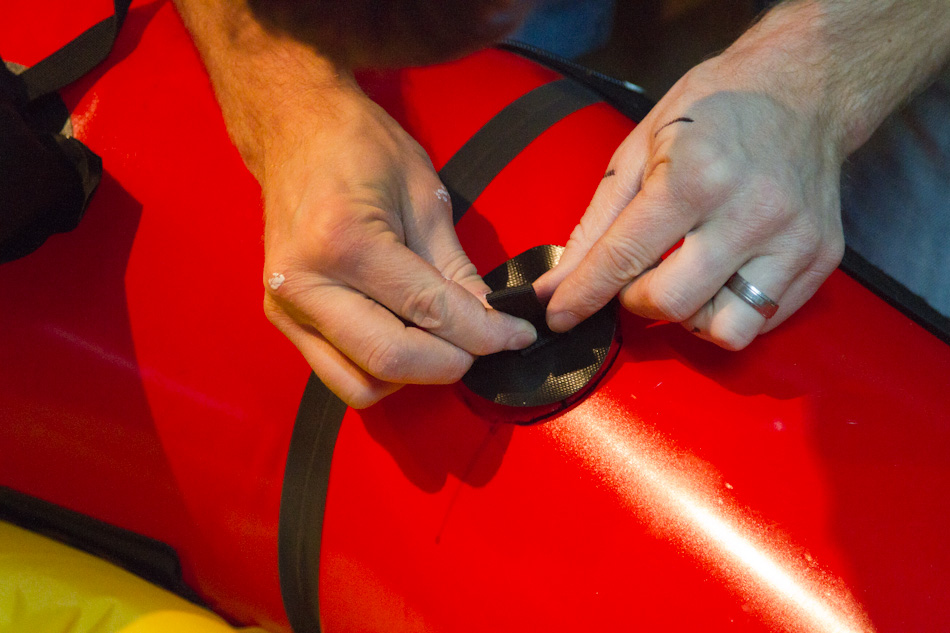
5) Attach tie-downs.
Position the tie-down by applying to one edge and rolling toward the opposite edge in an effort not to trap any air bubbles (Fig. 7). Use your orientation arrows from Fig. 2 as a guide.
6) Roll tie-downs.
Use a hand-roller to aggressively work the entire tie-down surface (Fig. 8). I’ve used the back of screwdrivers and other rounded surfaces but have been glad to have a real roller (available from NRS). If you are in Anchorage you should borrow mine.

Other modifications
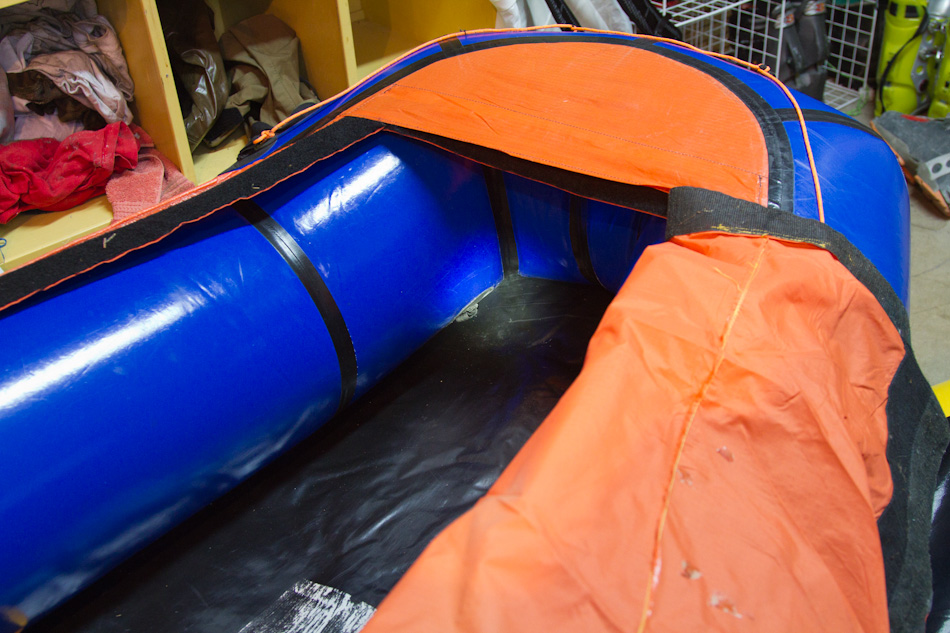
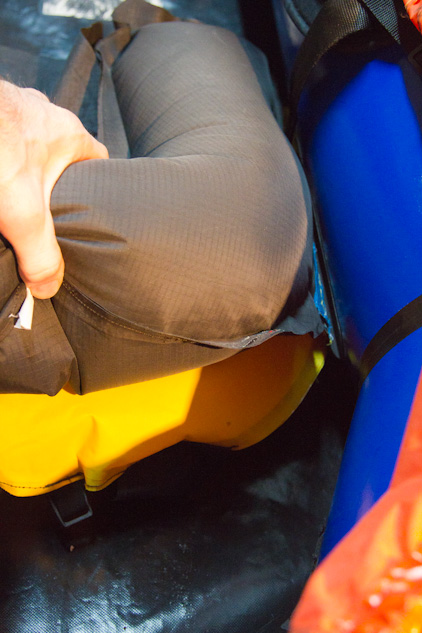
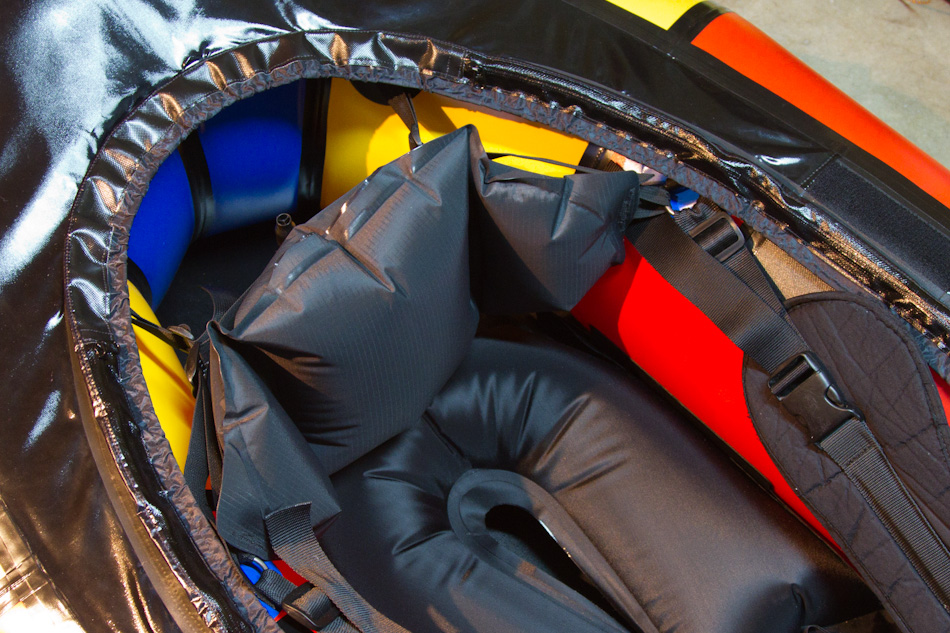
Seat position: Moving the seat forward moves the center of gravity forward, which improves handling and control (compare with a kayaker’s center of gravity). I don’t use the boat’s rear seat-tie-in tab at all. I’ve got my seat ~8 inches forward so that both of the seat’s tie-in tabs barely overlap with the boat’s forward seat tie-in tab. This also provides a nice space for storage behind the seat. I clip my camera bag behind my seat.
Double seat: Due to the width of the boat, I need to sit tall to get good torque from my paddle. I use two alpacka seats, one fully inflated, one paritally inflated. Sandwich the mouth valves between the two seats (any hard object on the floor of your boat will promote wear).
Backrest: After destroying several inflatable backrests I am very pleased with a Jackson Kayak backband (though other brands would certainly work) clipped in at my thigh strap D-rings.


Check out the straps in action… Show Up and Blow Up videos