


I wear backcountry ski boots in places where folks don’t expect to see them—cross-country ski trails, ice skating, and ice climbing. “What’s the deal with those big boots?” The deal is that they are a great option for all-around winter use.
Backstory: I was born with slightly deformed feet. My feet don’t absorb shock like they should, which has put me on the advanced track toward worn joints. At ~25 years old my big toes were shot, which required surgeries and ultimately the inability to wear soft-soled shoes. My salvation has been rigid-soled backcountry ski boots … for everything. I’ve covered over 7,000 miles on ski boots and learned a lot about how to make them work along the way.
You might not need the modifications that I describe here. My wife Sarah uses the same boots for most of these activities but without needing any modifications.

What’s a backcountry ski boot?
Backcountry ski boots (also referred to as A.T. or touring boots) consist of a rigid plastic shell and removable foam liner. Unlike downhill boots, backcountry boots have a lockable ankle hinge. ‘Walk mode’ allows the ankle to flex while walking, and ‘ski mode’ locks the ankle for better power transfer when making downhill turns.
Boots come with different lock mechanisms, buckles, and binding attachments. I’ve only ever used “tech” bindings, e.g., Dynafit, which require steel divots on the boot toe and heel. But that’s probably what you want too, if you are reading this page.

Warmth
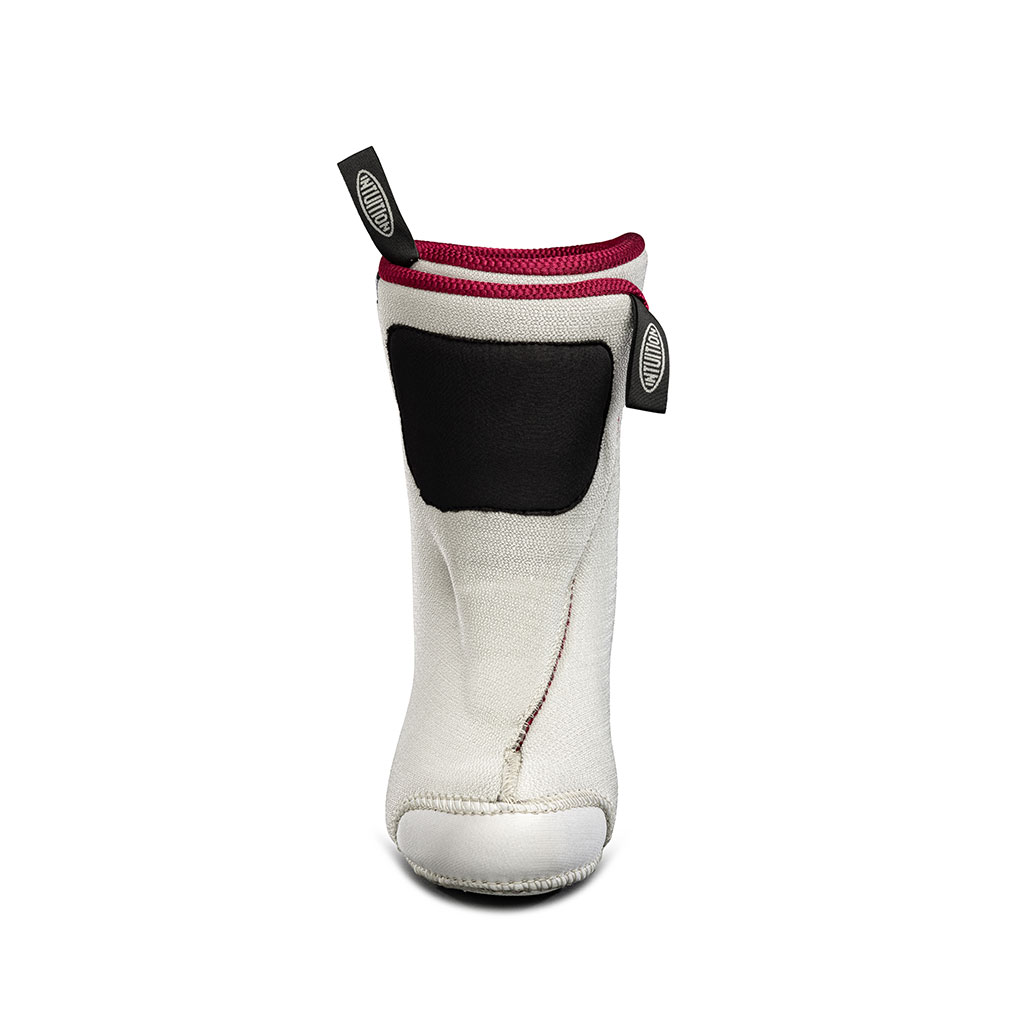
For my arctic and high-altitude travel, foot warmth has been critical. I’ve found after-market liners to be warmer than stock liners … even when the stock liner is made by the same brand. I have the most experience with Intuition’s Pro Tour model.
Even for trips closer to home … these boots are much warmer than cross-country boots or ice skates. And if there is any chance of the boot getting wet … the removable liner is much better for managing the water.
- I don’t heat mold the liners. Ski shops and DIYers will heat the liner to mold it to your foot. In my experience, heat-molded liners pack out sooner and are then less warm.
- I wear a sloppy fit. I spent years in ‘performance fit’ (tight) telemark boots with chronically cold feet and daily chemical heat packs. Since switching to sloppy backcountry boots, I have not needed heat packs. I still wear snug liners at the ski resort for better ski control, but wear loose liners on remote trips, where I can’t afford a cold-exposure injury.
- I wear a single pair of thin socks that I swap out during the day. I know this is not common practice, but it works for me. Refer to the moisture management discussion below.
- Additional insulation: For Denali, I carried Forty Below’s neoprene overboots. I did a poor job cutting holes for the toe and heel attachments, but once attached, the overboots worked great. It would have been a mistake for me to try Denali without overboots.
Moisture management
Moisture management can make the difference between warm or dangerously cold feet. Liners can get wet from overflow and river crossings, but more often, by sweat.
Moisture management is also important for preventing blisters (see below). I benefit from drying my feet during long breaks, even if I put wet socks back on at the end of the break.

Liners
In addition to their insulative value, closed-cell liners don’t absorb water. Hooray! Most liners have a fabric layer over the foam for comfort and durability, and this layer does absorb water, but the moisture can be managed by airing out the liners.
- Driving off moisture during the day: During an extended break, I remove my boots and pull out the liners to help them ventilate (we often hook them on the tops of ski poles). These breaks help dry my socks too.
- Driving off moisture at camp: When I arrive at camp I loosen the boot buckles and pull up the liner’s tongue to help drive off moisture while I’m doing camp chores. I wear the boots as long as possible (until my feet start to feel cold). I prefer tongued liners instead of wrap liners for this reason … it is easier to ventilate the liner (refer to the side-by-side images below, tongue on left, wrap on right).
- Drying the liner: Some people dry wet liners in their sleeping bags during the night. This sucks. The liners smell bad and the moisture transfers to the sleeping bag. But, it guarantees warm liners in the morning. By driving off as much moisture as possible at camp before bed, I get away with just letting the liners freeze each night. Another option is to fill small water bladders (~0.5 L) with hot water in the morning and place the bladders in the liners to start thawing the toe box.

Socks
I prefer thin socks because they dry quickly. In effect, I’m choosing moisture management instead of insulation. I’d love to know how much insulation thick socks really add … it can’t be significant compared to the liner.
I typically swap out my socks every four hours to flush out moisture. The wet pair goes on the outside of my pack or under my shirt, depending on the weather. I dry my socks during the night by draping them around my torso under my baselayer. Another trick is to wrap wet socks around a bottle of hot water—the heat helps drive moisture out.
Specifically, I like Sockwell’s moderate-compression calf-high socks. The compression helps to limit muscle fatigue. Full-compression models are too hard to get on and off during the day and I end up ripping holes in them.

Blister management
Prevention is the name of the game. As soon as there is a hint of a rub or hot spot, I take the time to tape the foot. It can be hard to call for a break if we’ve just started moving, but the other option is worse—we once had to turn around during an expensive remote trip due to a partner’s blister.
I’ve used different techniques to manage blisters and Leukotape P is the clear winner. The tape works best when warm, so I carry a chunk in an inner pocket (wrapped around a lighter or similar). Allow the foot to dry, tape the area of concern, and then rub the tape to help the adhesive stick. Taping at night is even more effective—the adhesive locks in during the night.


Fit and comfort
Whenever I struggle with tender feet, I’m shocked by how debilitating the injury is. I use two strategies to accommodate pressure points: heat-punching the shells before the trip and cutting the liner during the trip.
Boot punch
I use a homemade punch and heat gun to deform the shell to match my weird feet. It would be better to have professionals do that work, but I am frugal. Here is my process:
- Wear the boots and mark pressure points on the shell.
- Use a heat gun to warm the pressure point for a few minutes. If the plastic gets glossy, the gun is too close.
- Place the clamp on the target point with significant pressure. This is tricky around buckles, hinges, and the toe box.
- Leave the clamp in place for a few minutes while heating a spot on the other boot, alternating between the two (for efficiency). The same spot might need multiple rounds of punching.
- Wear the boots on a long day, evaluate the fit, and repeat this process. Iteration is critical.


Cutting liners
Even with punching, I can still develop pressure points on long trips. During the trip, I remove foam from the inside of the liner.
- Wear the liner and mark or hold the pressure point.
- Use a sharp blade to cut a circle through the inner liner fabric around the point.
- Press the point from the outside in, and shave some of the inner foam. I’m trying to thin the foam, not remove it all, but in some cases, I’ve needed to cut through all of the foam. This is typically an iterative process.
Surprisingly, I don’t experience cold spots where I’ve cut the foam. I usually experience instant relief that lasts the rest of the trip. The point is … don’t be afraid to hack away at the liner.

Boot features
There are a few boot features that I pay special attention to. To be honest, I’m not up-to-date regarding modern boot options, so these considerations might not apply to you.
The cuff hinge
I think the emphasis on ankle range of motion is somewhat misguided. True, a greater range of motion helps with kick-and-glide, but equally, or more important, is the resistance of the hinge. I feel most comfortable in old boots with worn-out hinges. I’d consider buying well-used boots instead of shopping for a new pair with a stiff cuff.
Walk/ski lock mechanism
Some boots have a single mechanism that sets the boot in downhill mode with forward lean and locked ankle. This feature is great for fast transitions—which are never my priority during a long trip. I prefer having a few buckles on the cuff so that I have more control over the fit. Adjusting the buckles throughout the day helps me transfer pressure to different parts of my tiring foot. Ice skating, nordic skiing, and ice climbing aren’t options with single-mechanism boots.
The green boot in the photos below has a more adjustable cuff (two buckles). The black and white boots have a single mechanism that tightens the cuff and locks the ankle.


Power strap
If possible, I remove the power strap for long trips; it is just a hassle. I’ll bring the straps (or use ski straps) when making turns is the priority. The black boot in the photos above has a power strap.
Crampon bail
I bought a pair of used ski boots (Dynaifit Hojis) and was shocked to discover that they didn’t have a toe bail for a crampon. What the hell?!? The workaround options are terrible (I tried one … but wasn’t willing to drill through the boot sole to install the step-in option). The black boot in the photos above does not have a crampon toe bail.
Durability
I love shaving weight, but durability is important to me when it comes to footwear. I’m more inclined to take a tried-and-true heavier boot than a hot-off-the-press unproven model. Nothing matches actual testing by logging miles.
